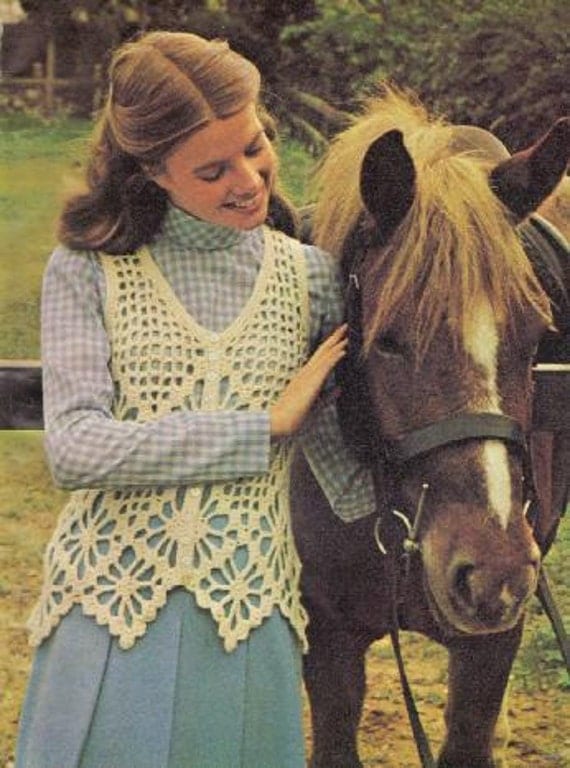
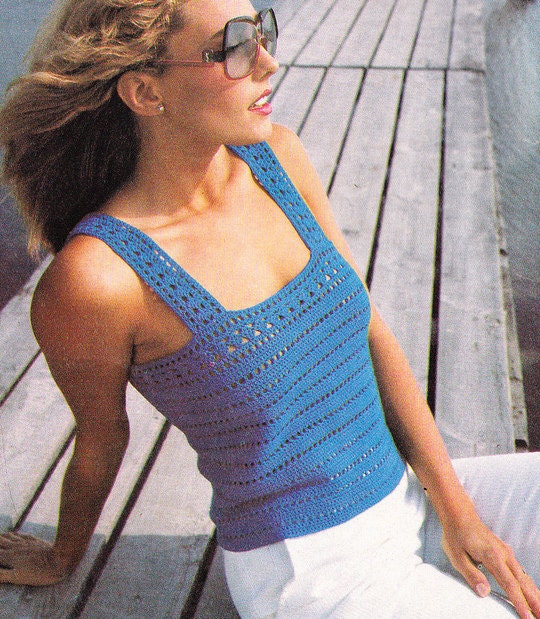
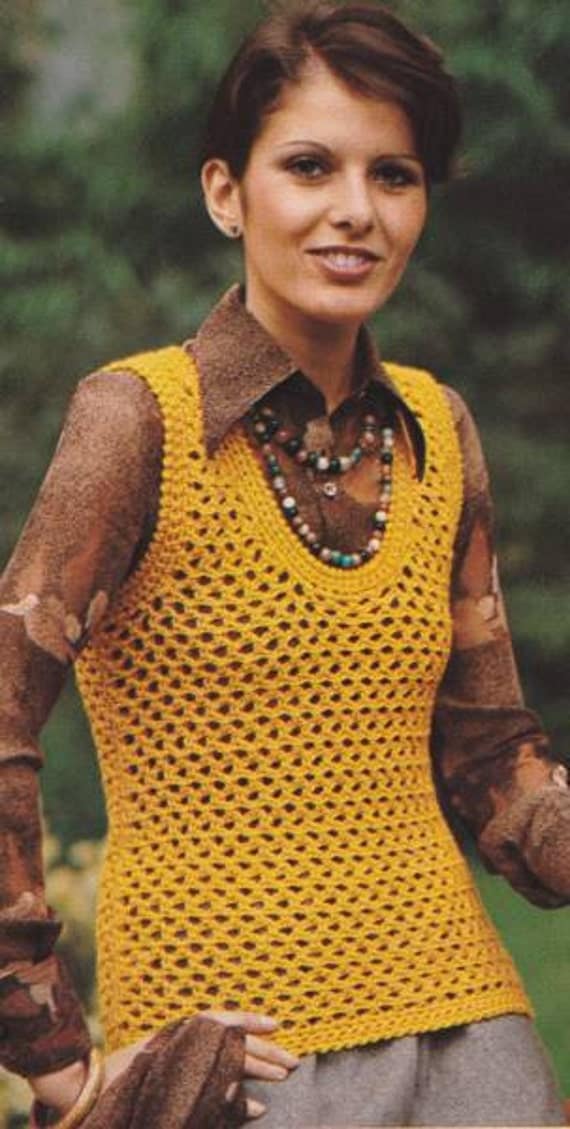
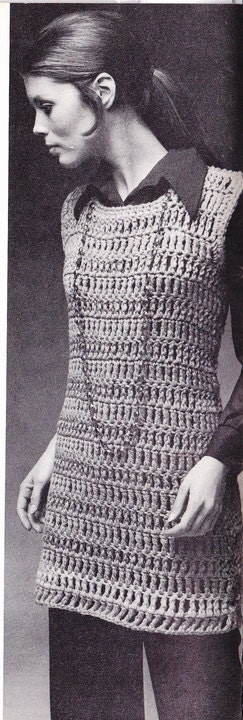
I found a few options for the dress I found yesterday that could be easily modified to mimic my inspiration dress. I have never crocheted clothing so I am not sure where to start. I m hoping if I play with a few patterns I will have a better idea of how it works. I just need a little direction.
Crochet Dress
I posted about this dress in my first post. I really want on for summer. And today I saw this BEAUTIFUL dress that I have to make. While looking for patterns I came across the vest patter that will make top half of the vintage dress that I LOVE. I will have to modify it a bit but it will work.
Now onto the new dress that I came across today. It is so perfect in every way. I LOVE LOVE LOVE IT.
I want to make it so bad. It is such a perfect dress to layer. I am obsessed right now and will not stop till I have a similar pattern top start the top and make it. I am thinking sport weight yarn so its not so bulky. Oh my I don't know what to do with myself.
Happy Daffodils
I am a lucky girl. My husband doesn't mind my pottery or crochet
addiction. In fact he encourages them. I got a few new pieces last week so I had to re arrange things just a bit. The yellow McCoy mid
sized vase caught my eye as we were turning the corner at a swap meet
and I just had to have it. I love yellow!!! And wish I had more pieces
that color so I was thrilled to bring it home with me.
But that did mean that I was going to have to move things around, pick favorites to stay and pack up some others to hide away until I get a bigger cabinet. That was not so easy.
I got myself some Daffodils at the market yesterday, by the end of the day I had one blooming. And this morning the whole bunch was waking up. I love fresh flowers in a pretty vase, its just so perfect.
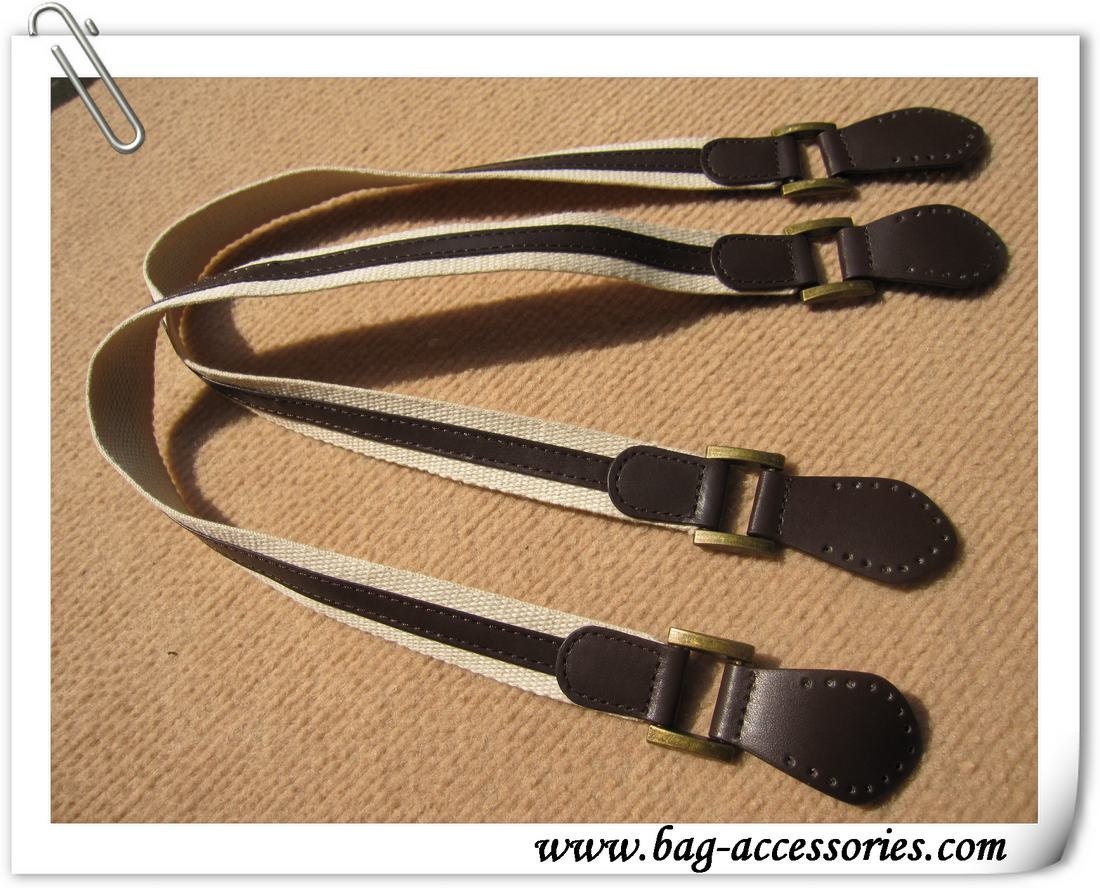
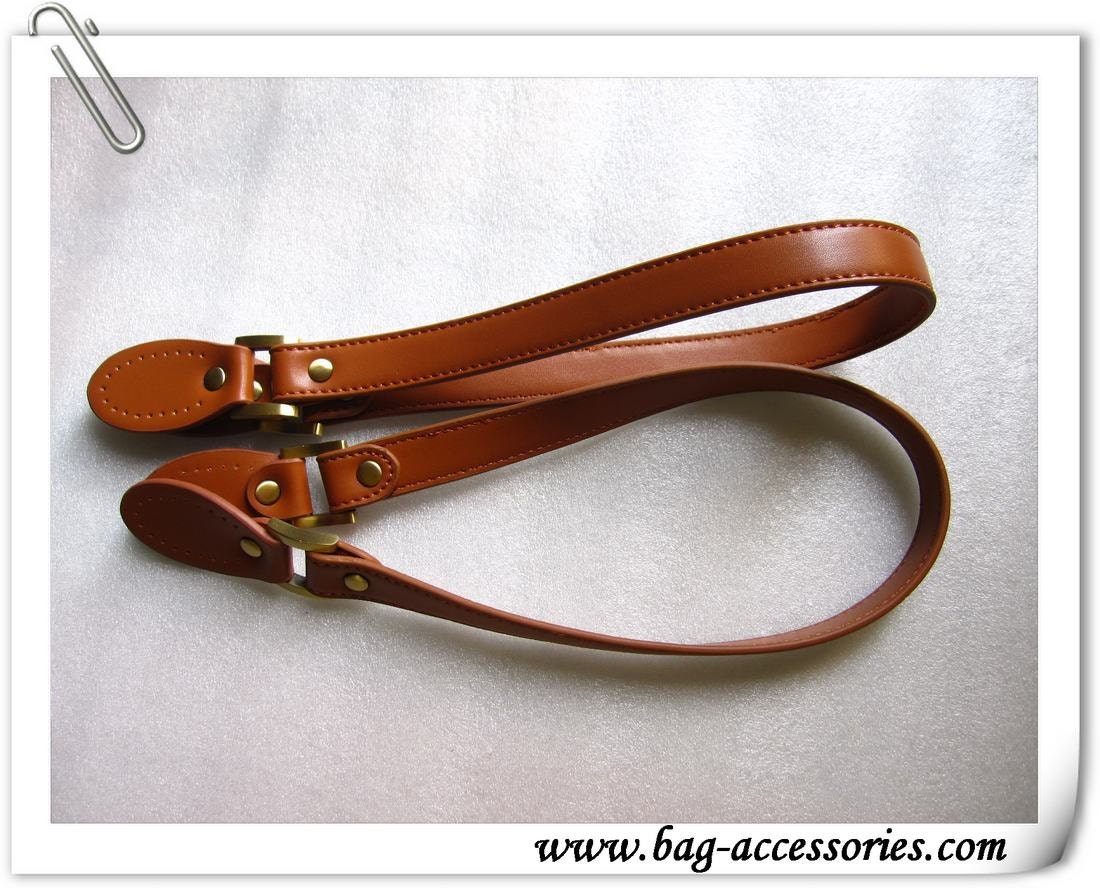
I love my granny square purses. I just don't know what to do for the handles. I am stuck and being very indecisive. Crochet them? Order leather handles? Sew some? I think the leather would be the nicest. But then sewing them on I am not sure how that is going to work out. We will see how it goes. They might sit undone for a while until I decide what to do.
Totally Hooked
For Christmas a few years back my sister gave me a set of bamboo handle hooks. I love them and wont use anything else anymore. It feels weird holding a little crochet hook after using the bamboo hooks. So now what do I do with all my other hooks? I just found the answer here!!
Then I got to looking for patterns and different designs to try so here are a few goodies to feast your eyes on.
I love how she has marked the size in the bottom very clever.
This next one takes the cake!! GRANNY SQUARES! How fun and perfect pattern for a crochet hook.
I can't wait to make up a few for my neglected and lonely hooks.
Crochet Bow Headband Tutorial
I am a visual learner. It is easier for me when I see something to make sense if it. Especially with a crochet pattern. I prefer crochet charts for patterns as well, reading patterns gets confusing and I always seem to loose my place. So we will see how it goes for writing a tutorial. I hope I can do it and not confuse you.
This is my first tutorial of many to come! We are starting with a simple but adorable bow.
This can be adjusted to be made smaller or larger very easily.
To start I am using a 5mm hook. 1 elastic headband and worsted weight red heart yarn.
BOW:
Chain 9
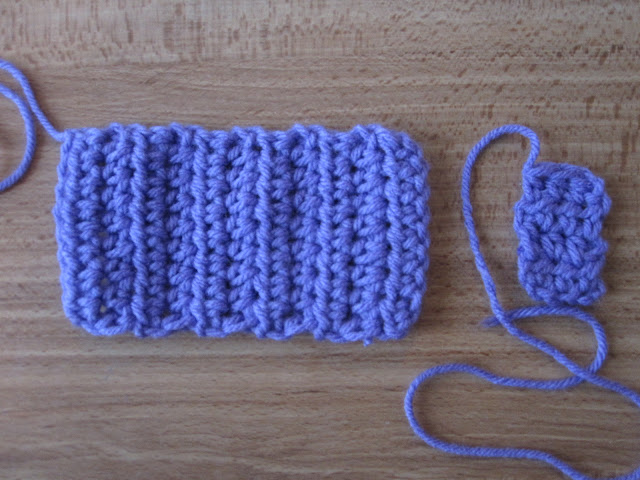
1st row: Half double crochet in second hole from the hook, then in each stitch till the end giving you 8 stitches.
2nd row: Chain 1 turn, hdc in each stitch till the end repeat for 10 more rows. Fasten off and leave about 10" of yarn to fasten your bow to the headband.
Chain 4
1st row: hdc in second stitch from hook, then in the next two stitches giving you three stitches.
2nd row: Chain 1 turn, hdc in each stitch, repeat the next 3 rows. Fasten off and leave of 4" yarn.
You now should have these two pieces.
Take your headband and pinch your bow in the center around your headband.
Take the second part of the bow and wrap around the center where you were pinching and fasten the ends together. Weave in the remainder.
Now on the other long string hanging out. Weave from the corner from where the string in hanging out to the center and start looping around the headband and back in to the bow till the end. Weave in to hide the end under the headband and clip the rest off.
....
After all the bows were done I started on some cute spring flowers.
They are sweet and happy little flowers that are just the right size for any age girl.
Compleated Blanket #2

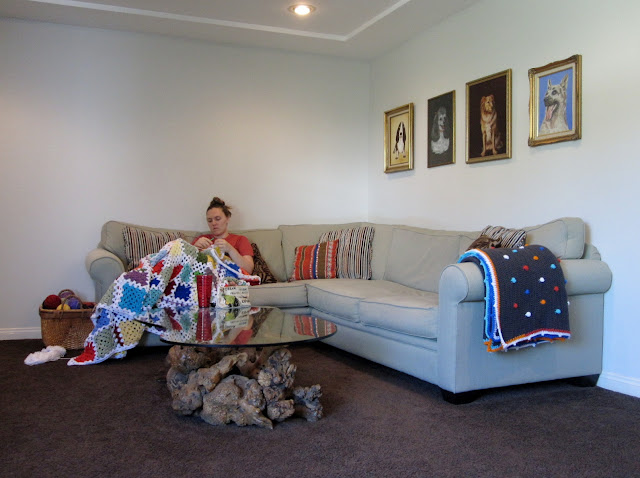
I am so thrilled with this project. It came together so fast and I couldn't be more happy with the outcome. This is my second big blanket and I am really proud of my self for completing bigger projects other than hats, purses and what not.
This was a really great stash buster. Even really small scraps I was able to get a granny square or two out of them and all the colors mixed together great. I still have a few random balls stashed away in my handy ziploc bag of scraps that I think I just found the perfect project really quick for.
Great video tutorial by Bobwilson123 on youtube!!!
Yarn Bandit
My little yarn bandit, he loves Red Heart yarn just as much as I do.
After all the squares were made I had to contain my little one so I could get them all in place without him destroying them. I got right to joining them together using a great tutorial I found here. I love how seamless it makes it look. There was a slight miscalculation with the outer squares and I had to add a filler row to match up the outer squares. I was a little disappointed but I am over it now.
Subscribe to:
Posts (Atom)

